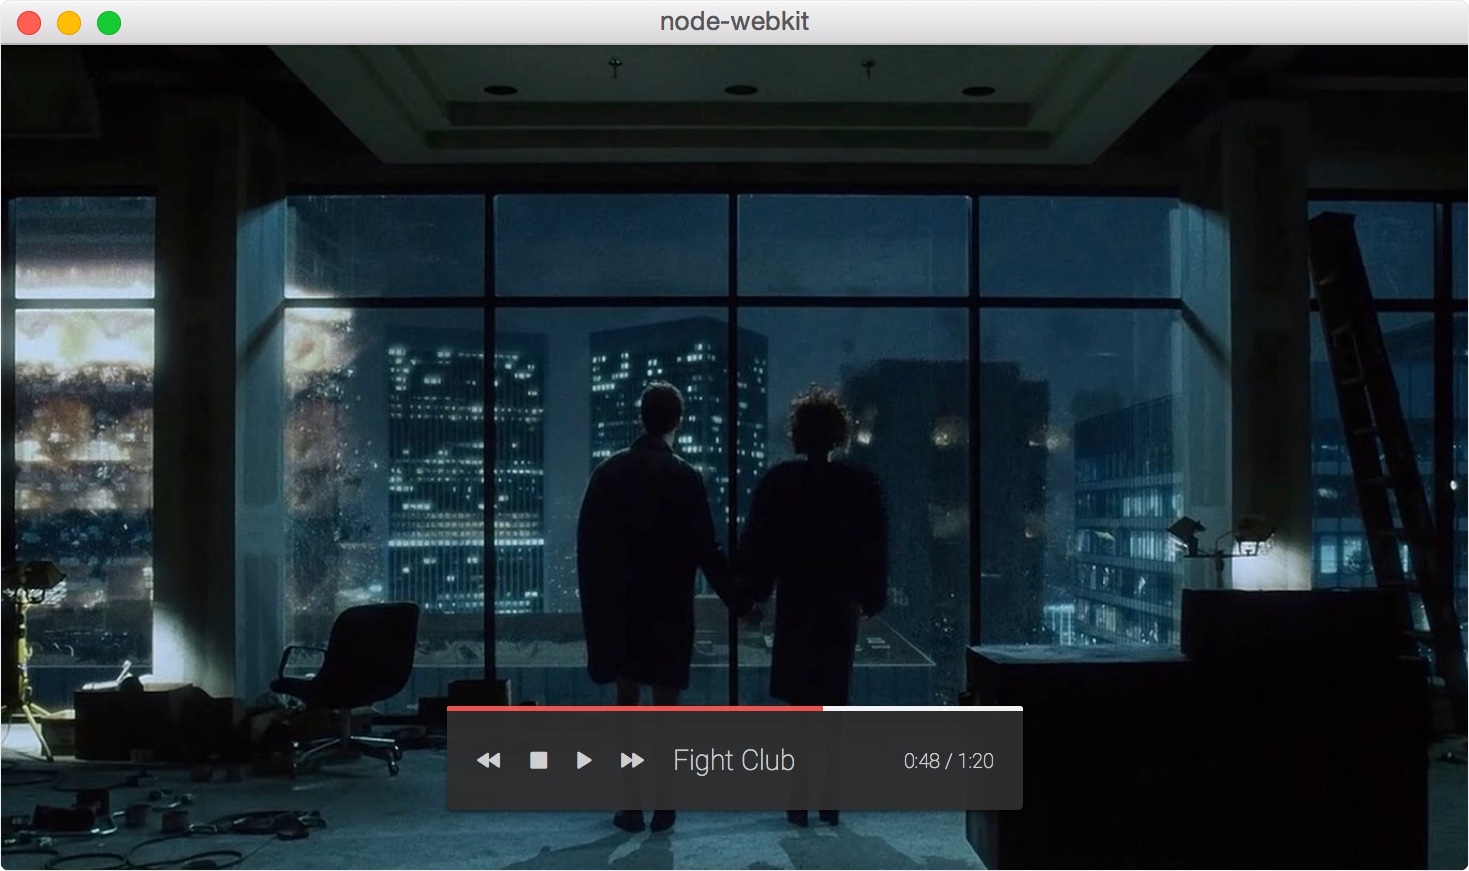
How to play
almost all video files
in nw.js (node-webkit)
The range of video formats you can play with nw.js out-of-the-box is very limited. The list of supported codecs
theora,vorbis,vp8,pcm_u8,pcm_s16le,pcm_s24le,pcm_f32le,pcm_s16be,pcm_s24be
seems quite impressive, but when you start playing videos with nw you quickly realize that hardly any video is actually working. Especially files encoded with H.264, probably the most popular codec, is not supported. nw offers a wiki page explaining how to make H.264 work, but most video files still fail to play. Also, using the techniques described, you will have to license your application as GPL, in other words you must make your project open-source.
A solution to all of these problems is using WebChimera, a plugin you can use with nw.js.
Download / Demo / tl;dr
You can download the final project from GitHub, the code is quite simple:
https://github.com/LukasBombach/nw-webchimera-demos
WebChimera
WebChimera is a plugin that uses Firebreath to run VLC in your browser—and it works quite well. The best part is, you can use this plugin together with nw.js to fill the gap of unsupported videos and actually play almost all videos in your nw application.
Once WebChimera is installed, you can simply add an html-tag for your video, provide it with a video source (local or remote) and play the video embedded in your page. You can either write interfaces for it using QML, the language to write interfaces for QT applications—or HTML, CSS & JavaScript, the languages you probably already know and love.
Since WebChimera runs VLC, you will also be able to play almost any audio file, like MP3s, AACs and many more, with it.
Install nw.js and WebChimera
On OS X
- Download nw.js, choose the
64bitversion and extract it. - Download WebChimera for Mac
- Create a folder called
pluginsin your nw project root. - From your downloaded WebChimera disk image, copy the file
WebChimera.pluginto thepluginsfolder you just created.
On Windows
- Download nw.js, choose the
32bitversion and extract it. - Download the latest WebChimera from the releases at GitHub. Choose the file named WebChimera_X.X.X_vlc_X.X.X.zip
- Create a folder called
pluginsin your nw project root. - Extract all contents from the WebChimera zip file you downloaded to the
pluginsfolder you just created.
Linux
Unfortunately Linux is not fully supported—yet.
Set up your project
Once you have extracted nw.js and installed WebChimera we can start creating a simple video player. First, create a package.json in your project root as follows:
On OS X
{
  "name": "nw-webchimera-demos",
  "main": "app://host/index.html",
  "chromium-args": "--load-plugin=plugins/WebChimera.plugin",
  "webkit": {
    "plugin": true
  }
}
On Windows
{
  "name": "nw-webchimera-demos",
  "main": "app://host/index.html",
  "chromium-args": "--load-plugin=plugins\\npWebChimera.dll",
  "webkit": {
    "plugin": true
  }
}
This contains 3 important settings. Let’s start by looking at
"chromium-args": "--load-plugin=plugins/WebChimera.plugin", // plugins\\npWebChimera.dll on windows
"webkit": {
  "plugin": true
}
These 2 settings will make nw actually load WebChimera from your plugins directory. Without these settings the player embedded in your application won’t load. Secondly
"main": "app://host/index.html",using the app:// protocol will enable nw to load files from your local file system.
This will be important when we implement the interface for the video player using QML, because we will
put the QML code in a separate file that nw will load from your disk.
Instantiate video player
Create a file called index.html in your root directory:
<!DOCTYPE html>
<html>
<body>
<object type="application/x-chimera-plugin" width="600" height="338">
    <param name="mrl" value="http://download.blender.org/peach/bigbuckbunny_movies/big_buck_bunny_480p_stereo.avi" />
</object>
</body>
</html>
Open your nw app. Boom. You already have a video player application that supports all files that are supported by VLC.
Implementing an interface
Interfaces for WebChimera can be written in 2 ways:
- Using QML
- Using HTML, CSS & JavaScript
Using HTML, CSS & JavaScript is probably the preferable way for all of us web-developers, but to make this tutorial complete, we will also learn how to implement an interface using QML. But you can safely skip the QML part if you like.
Implementing an interface with QML
QML (Qt Meta Language or Qt Modeling Language) is a user interface markup language for QT applications. It is similar to CSS pimped with dynamics of JavaScript and you can write user interfaces for WebChimera with it. Let’s look at a basic example. Add a file called player.qml to your project’s root directory with the following code:
import QtQuick 2.1
import QmlVlc 0.1

Rectangle {

    color: bgcolor

    VlcVideoSurface {

        source: vlcPlayer
        anchors.fill: parent

        Rectangle {

            color: '#BFFFFFFF'
            radius: 5
            width: 220
            height: 50
            anchors.horizontalCenter: parent.horizontalCenter
            anchors.bottom: parent.bottom
            anchors.bottomMargin: 20

            MouseArea {
                anchors.fill: parent
                onClicked: vlcPlayer.togglePause()
            }
        }
    }
}
Then add a param with the name qmlsrc and the value player.qml to your <object> tag like this:
<object type="application/x-chimera-plugin" width="600" height="338">
    <param name="mrl" value="http://download.blender.org/peach/bigbuckbunny_movies/big_buck_bunny_480p_stereo.avi" />
    <param name="qmlsrc" value="player.qml" />
</object>
This will add a rounded rectangle at the bottom of your player, click it to pause and unpause the video. This tutorial will teach you how to write QML, but the basics are that QML contains of nested objects, in this case a VlcVideoSurface containing a Rectangle containing a MouseArea. Each object can reference its parent and using the anchor attributes position itself relative to it. You can find a very nice article explaining the basics of writing QML on WebChimera’s wiki on GitHub: https://github.com/RSATom/WebChimera/wiki/Getting-started-with-QML
Implementing an interface using HTML, CSS & JavaScript
Implementing an interface for WebChimera using HTML, CSS & JavaScript is as straight forward as creating the interface elements using HTML & CSS and using JavaScript to make WebChimera pause and play when the user performs a click. WebChimera has a JavaScript API that gives you full control over the video.
If you have just modified your <object> code, undo your changes. So your <object> tag should look like this again:
<object type="application/x-chimera-plugin" width="600" height="338">
    <param name="mrl" value="http://download.blender.org/peach/bigbuckbunny_movies/big_buck_bunny_480p_stereo.avi" />
</object>
Right after your <object>, create a div with the id interface:
<object type="application/x-chimera-plugin" width="600" height="338">
    <param name="mrl" value="http://download.blender.org/peach/bigbuckbunny_movies/big_buck_bunny_480p_stereo.avi" />
</object>
<div id="interface"></div>
Add the following CSS to your page:
<style>
#interface {
    position: absolute;
    top: 268px;
    left: 190px;
    width: 220px;
    height: 50px;
    background: rgba(255, 255, 255, 0.75);
    border-radius: 5px;
}
</style>
And at the bottom of your <body> add:
<script type="text/javascript">
    var player = document.getElementById('player');
    document.getElementById('interface').addEventListener('click', function() {
        player.togglePause();
    });
</script>
which should give you the following HTML page
<!DOCTYPE html>
<html>
<head lang="en">
    <meta charset="UTF-8">
    <style>
        #interface {
            position: absolute;
            top: 268px;
            left: 190px;
            width: 220px;
            height: 50px;
            background: rgba(255, 255, 255, 0.75);
            border-radius: 5px;
        }
    </style>
</head>
<body>

<object id="player" type="application/x-chimera-plugin" width="600" height="338">
    <param name="mrl" value="http://download.blender.org/peach/bigbuckbunny_movies/big_buck_bunny_480p_stereo.avi" />
</object>
<div id="interface"></div>

<script type="text/javascript">
    var player = document.getElementById('player');
    document.getElementById('interface').addEventListener('click', function() {
        player.togglePause();
    });
</script>

</body>
</html>
So simply put, we added a <div> to our markup, styled it with CSS to lay it over our video and are calling the togglePause() method of the video player when the user clicks on the div. You should see a white, slightly transparent rounded rectangle overlaying the video and pause/unpause it by clicking on the rectangle. This way we can build any interface we want, not different in any way to regular web-development.
Licensing
As mentioned in the introduction, using the techniques proposed on the nw.js wiki, enabling H.264 support will require you to release your application licensed as GPL too. I.e. you must make your entire project’s source code open-source. Luckily, using WebChimera, you don’t have to do that. WebChimera itself is licensed as LGPL-2.1, but since this is a standalone library, only the library needs to be public. Your code can stay closed using the license that you choose.
Links
WebChimera homepage
http://www.webchimera.org/
WebChimera on GitHub
https://github.com/RSATom/WebChimera/
WebChimera JavaScript API
https://github.com/RSATom/WebChimera/wiki/JavaScript-API